
Prerequisites
Before starting, ensure you have:- Docker and Docker Compose installed
- Open WebUI running (locally or deployed)
- MetaMCP deployed with a properly configured
APP_URL(default tohttp://localhost:12008)
Step 1: Deploy MetaMCP with Proper Configuration
Clone and Setup MetaMCP
Clone and Setup MetaMCP
If you haven’t already, clone MetaMCP and set it up:
Configure APP_URL for Open WebUI Access
Configure APP_URL for Open WebUI Access
Critical: Configure your Also configure other production settings:
APP_URL properly in the .env file for Open WebUI integration:Start MetaMCP
Start MetaMCP
Launch MetaMCP using Docker Compose:Verify it’s running by visiting your configured
APP_URL.Step 2: Configure MetaMCP for Open WebUI
Create MetaMCP Account
Create MetaMCP Account
- Open your browser and go to your
APP_URL(e.g.,http://localhost:12008) - Create an account or log in
- (Recommended) Disable new user registration in Settings for security
Add MCP Servers
Add MCP Servers
Add the MCP servers you want to expose to Open WebUI:
- Navigate to MCP Servers in the sidebar
- Click “Add Server” button
- Configure your server (example with filesystem server):
- Name:
hacker-news-server - Description:
Hacker News integration for fetching stories and comments - Type:
STDIO
- Command:
uvx - Arguments:
mcp-hn - Environment Variables: (if needed)
- Choose “Everyone (Public)” for Open WebUI access
- Click “Create Server”
Create a Namespace
Create a Namespace
Group your MCP servers into a namespace for Open WebUI:
- Go to Namespaces in the sidebar
- Click “Create Namespace”
- Configure the namespace:
- Name:
openwebui-tools - Description:
Aggregated tools for Open WebUI integration
- Choose “Everyone (Public)”
- Check all servers you want to include
- These will be aggregated into one endpoint
- Click “Create Namespace”
Manage Tools (Optional)
Manage Tools (Optional)
Fine-tune which tools are available:
- Click on your “openwebui-tools” namespace
- Review the Tools Management section
- Disable any tools you don’t want Open WebUI to access
- This helps keep the tool set focused and secure
Step 3: Create OpenAPI Endpoint
Create Public Endpoint
Create Public Endpoint
Create an endpoint that Open WebUI can consume:
- Navigate to Endpoints in the sidebar
- Click “Create Endpoint”
- Configure the endpoint:
- Name:
openwebui-api - Description:
OpenAPI endpoint for Open WebUI integration
- Choose “Everyone (Public)”
- Select your “openwebui-tools” namespace
- Enable API Key Authentication: Toggle ON
- Use Query Parameter Authentication: Toggle OFF (Open WebUI supports Bearer tokens)
- Check “Automatically create an MCP server for this endpoint”
- Click “Create Endpoint”
- OpenAPI UI:
{APP_URL}/metamcp/openwebui-api/api - OpenAPI Schema:
{APP_URL}/metamcp/openwebui-api/api/openapi.json
Step 4: Generate API Key
Create API Key for Open WebUI
Create API Key for Open WebUI
- Go to API Keys in the sidebar
- Click “Generate Key”
- Configure the API key:
- Description:
Open WebUI Integration Key - Scope: Public (so Open WebUI can use it)
- Click “Generate Key”
- Important: Copy the generated key (starts with
sk_mt_)
Step 5: Configure Open WebUI
Step 5.1: Open Web UI
Step 5.1: Open Web UI
Open your Open Web UI page. Find settings.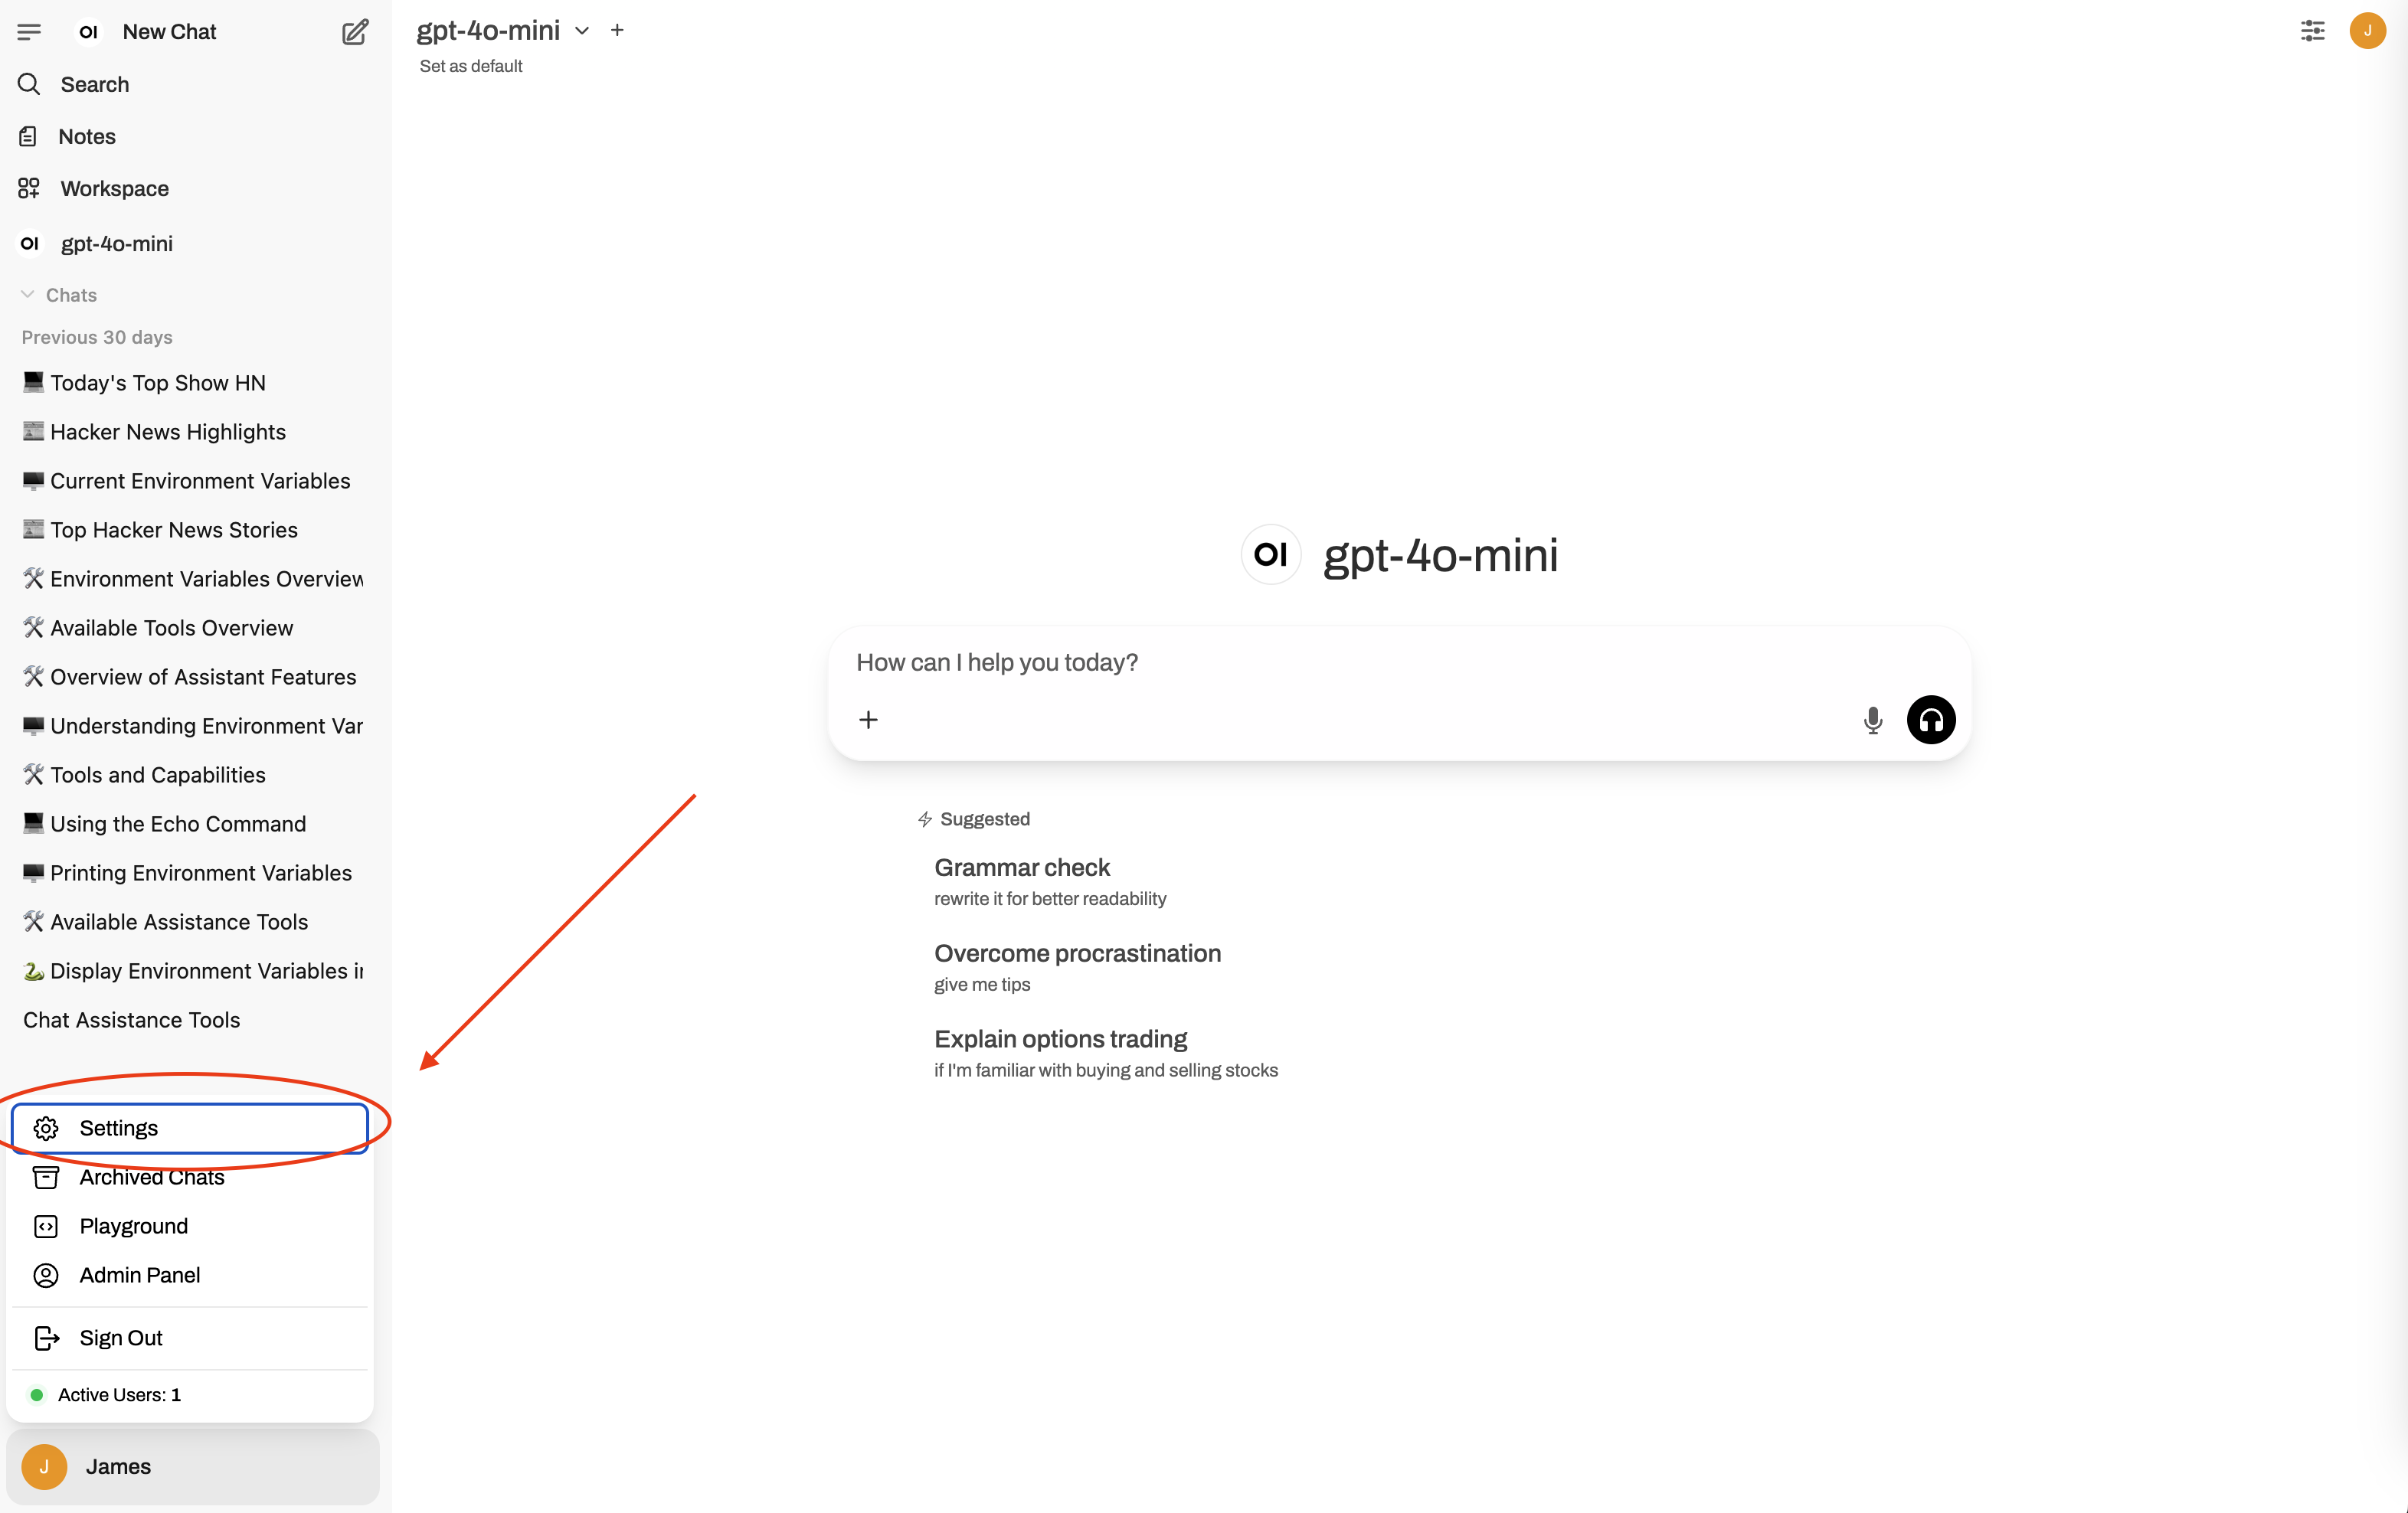
Step 5.2: Settings > Tools
Step 5.2: Settings > Tools
In Settings pop up. Go to “Tools”.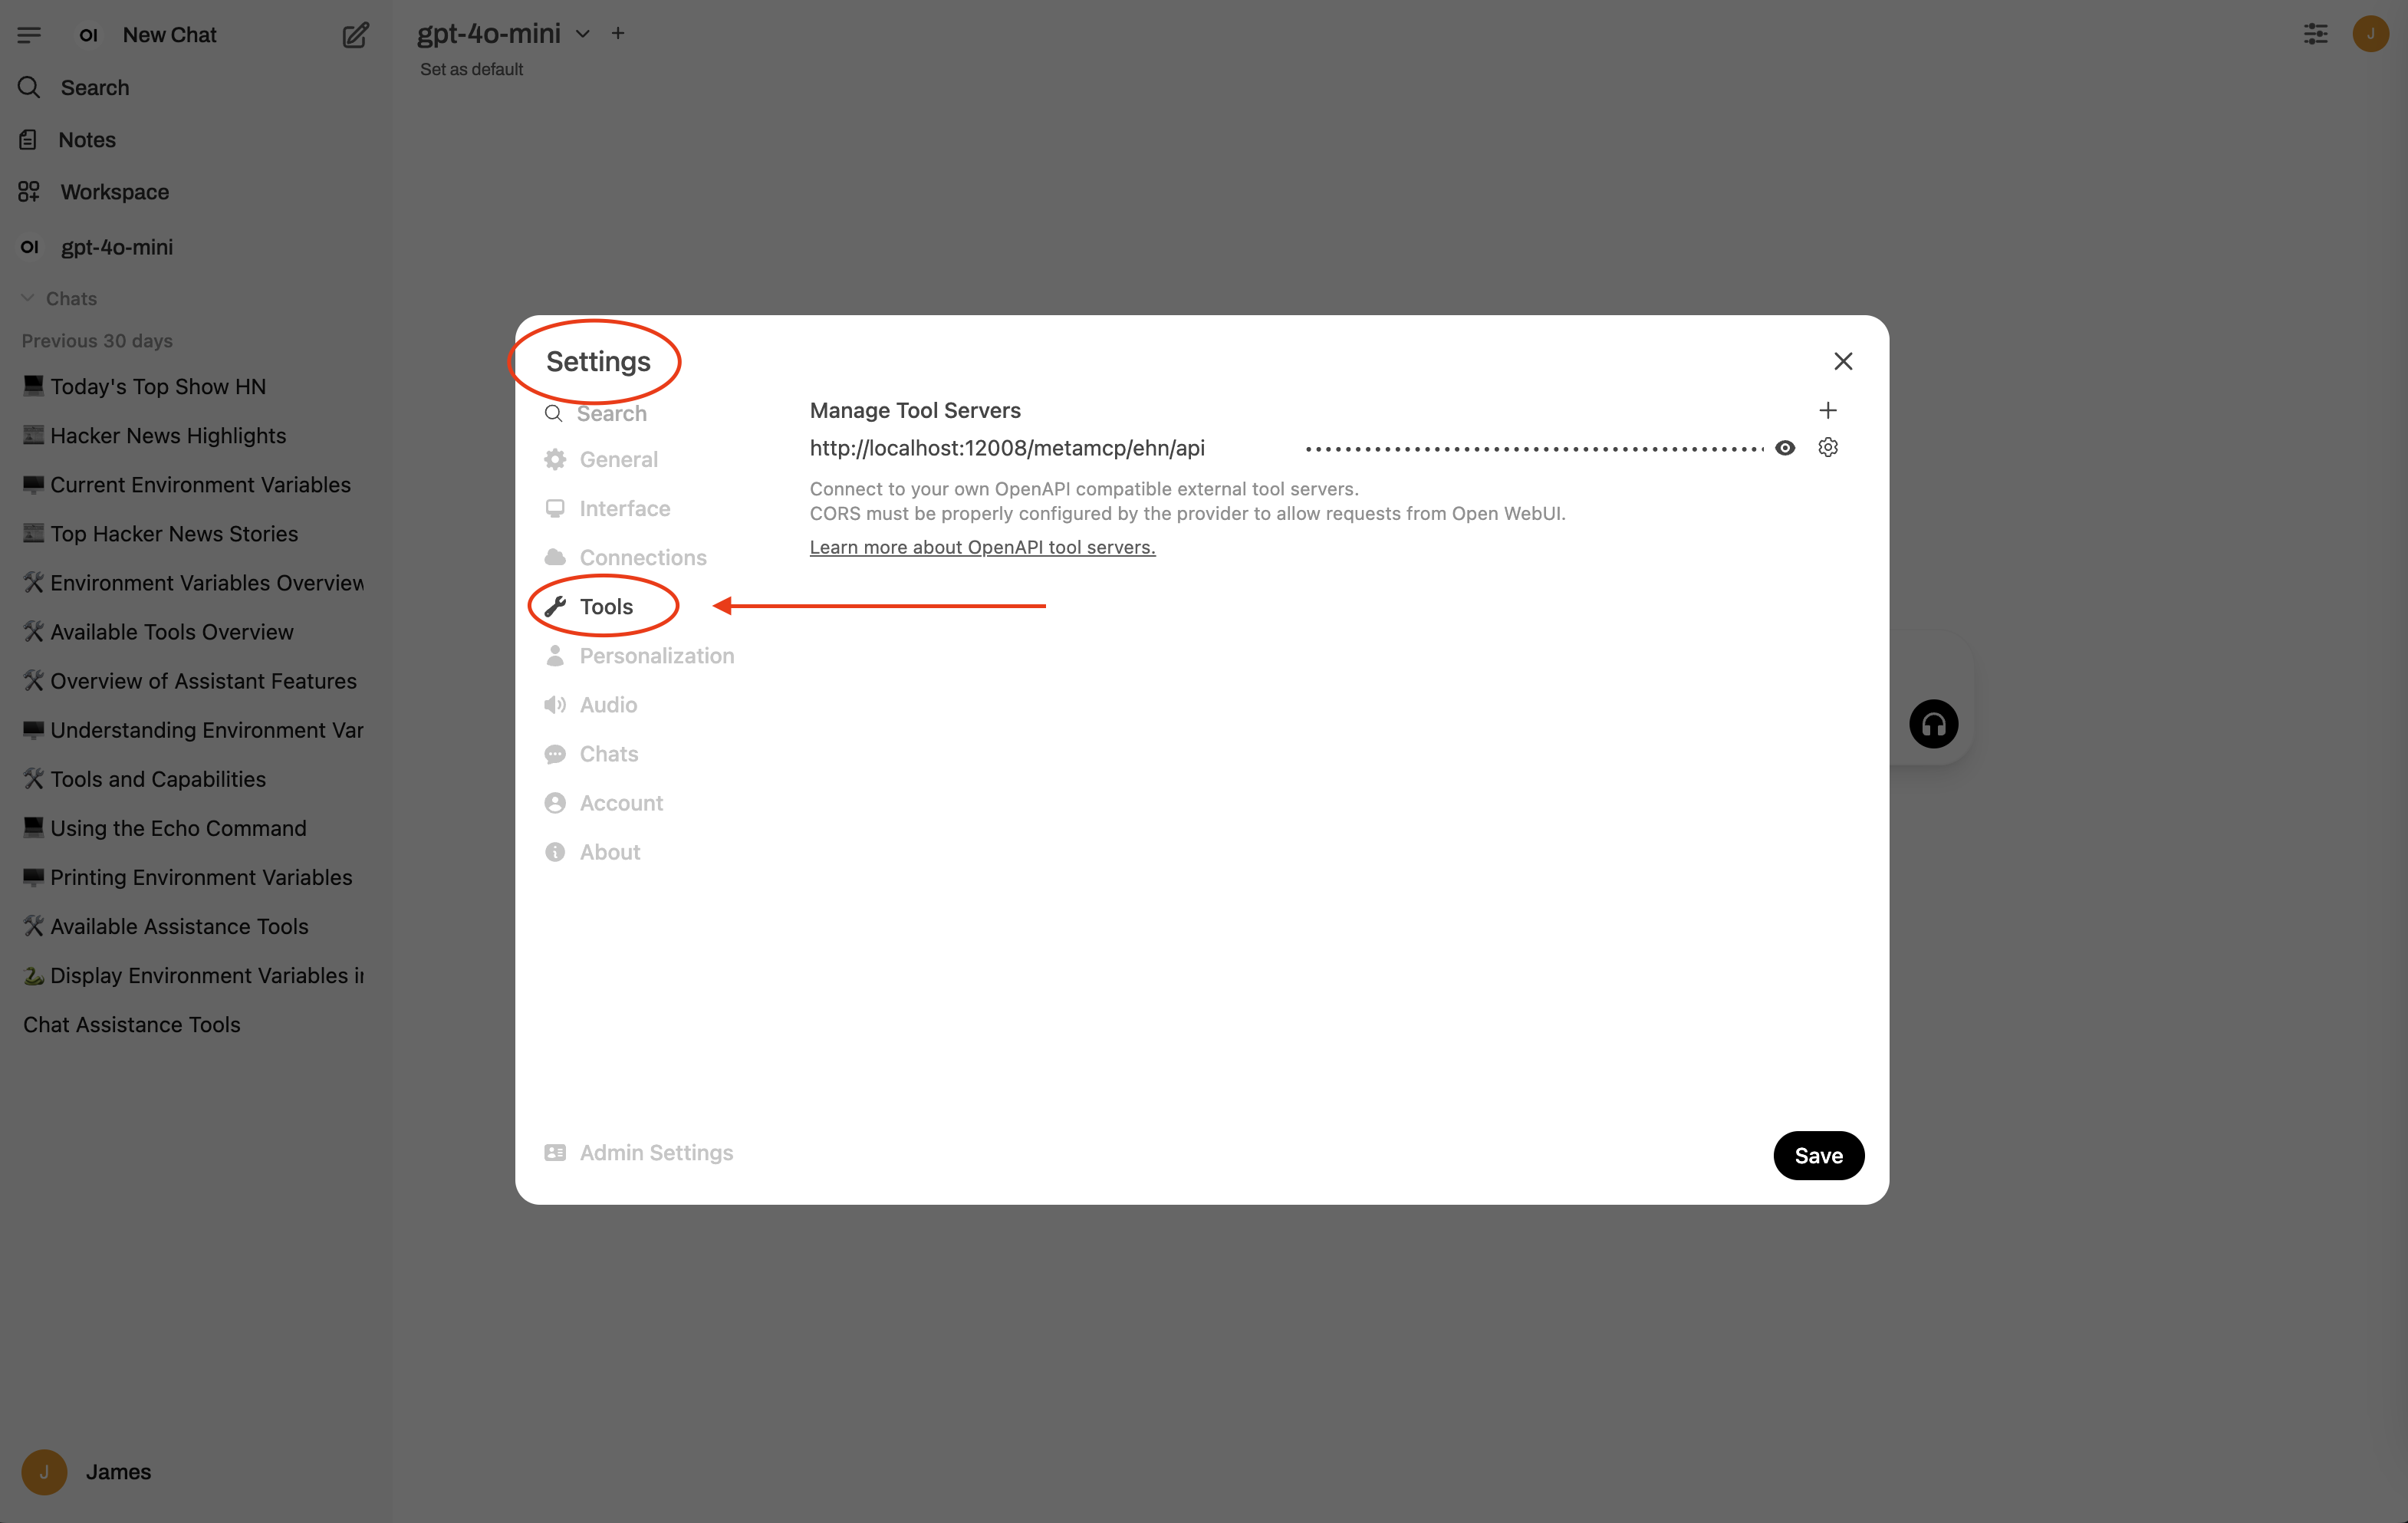
Step 5.3: Settings > Tools > Add connection
Step 5.3: Settings > Tools > Add connection
Under “Manage Tool Servers” on top right corner click on the ”+” button to add a connection.
For URL > Base URL enter
For URL > openapi.json Path enter
Put the “API Key” generated in previous steps to “Auth Bearer” field.
Use the “refresh” button to test connection.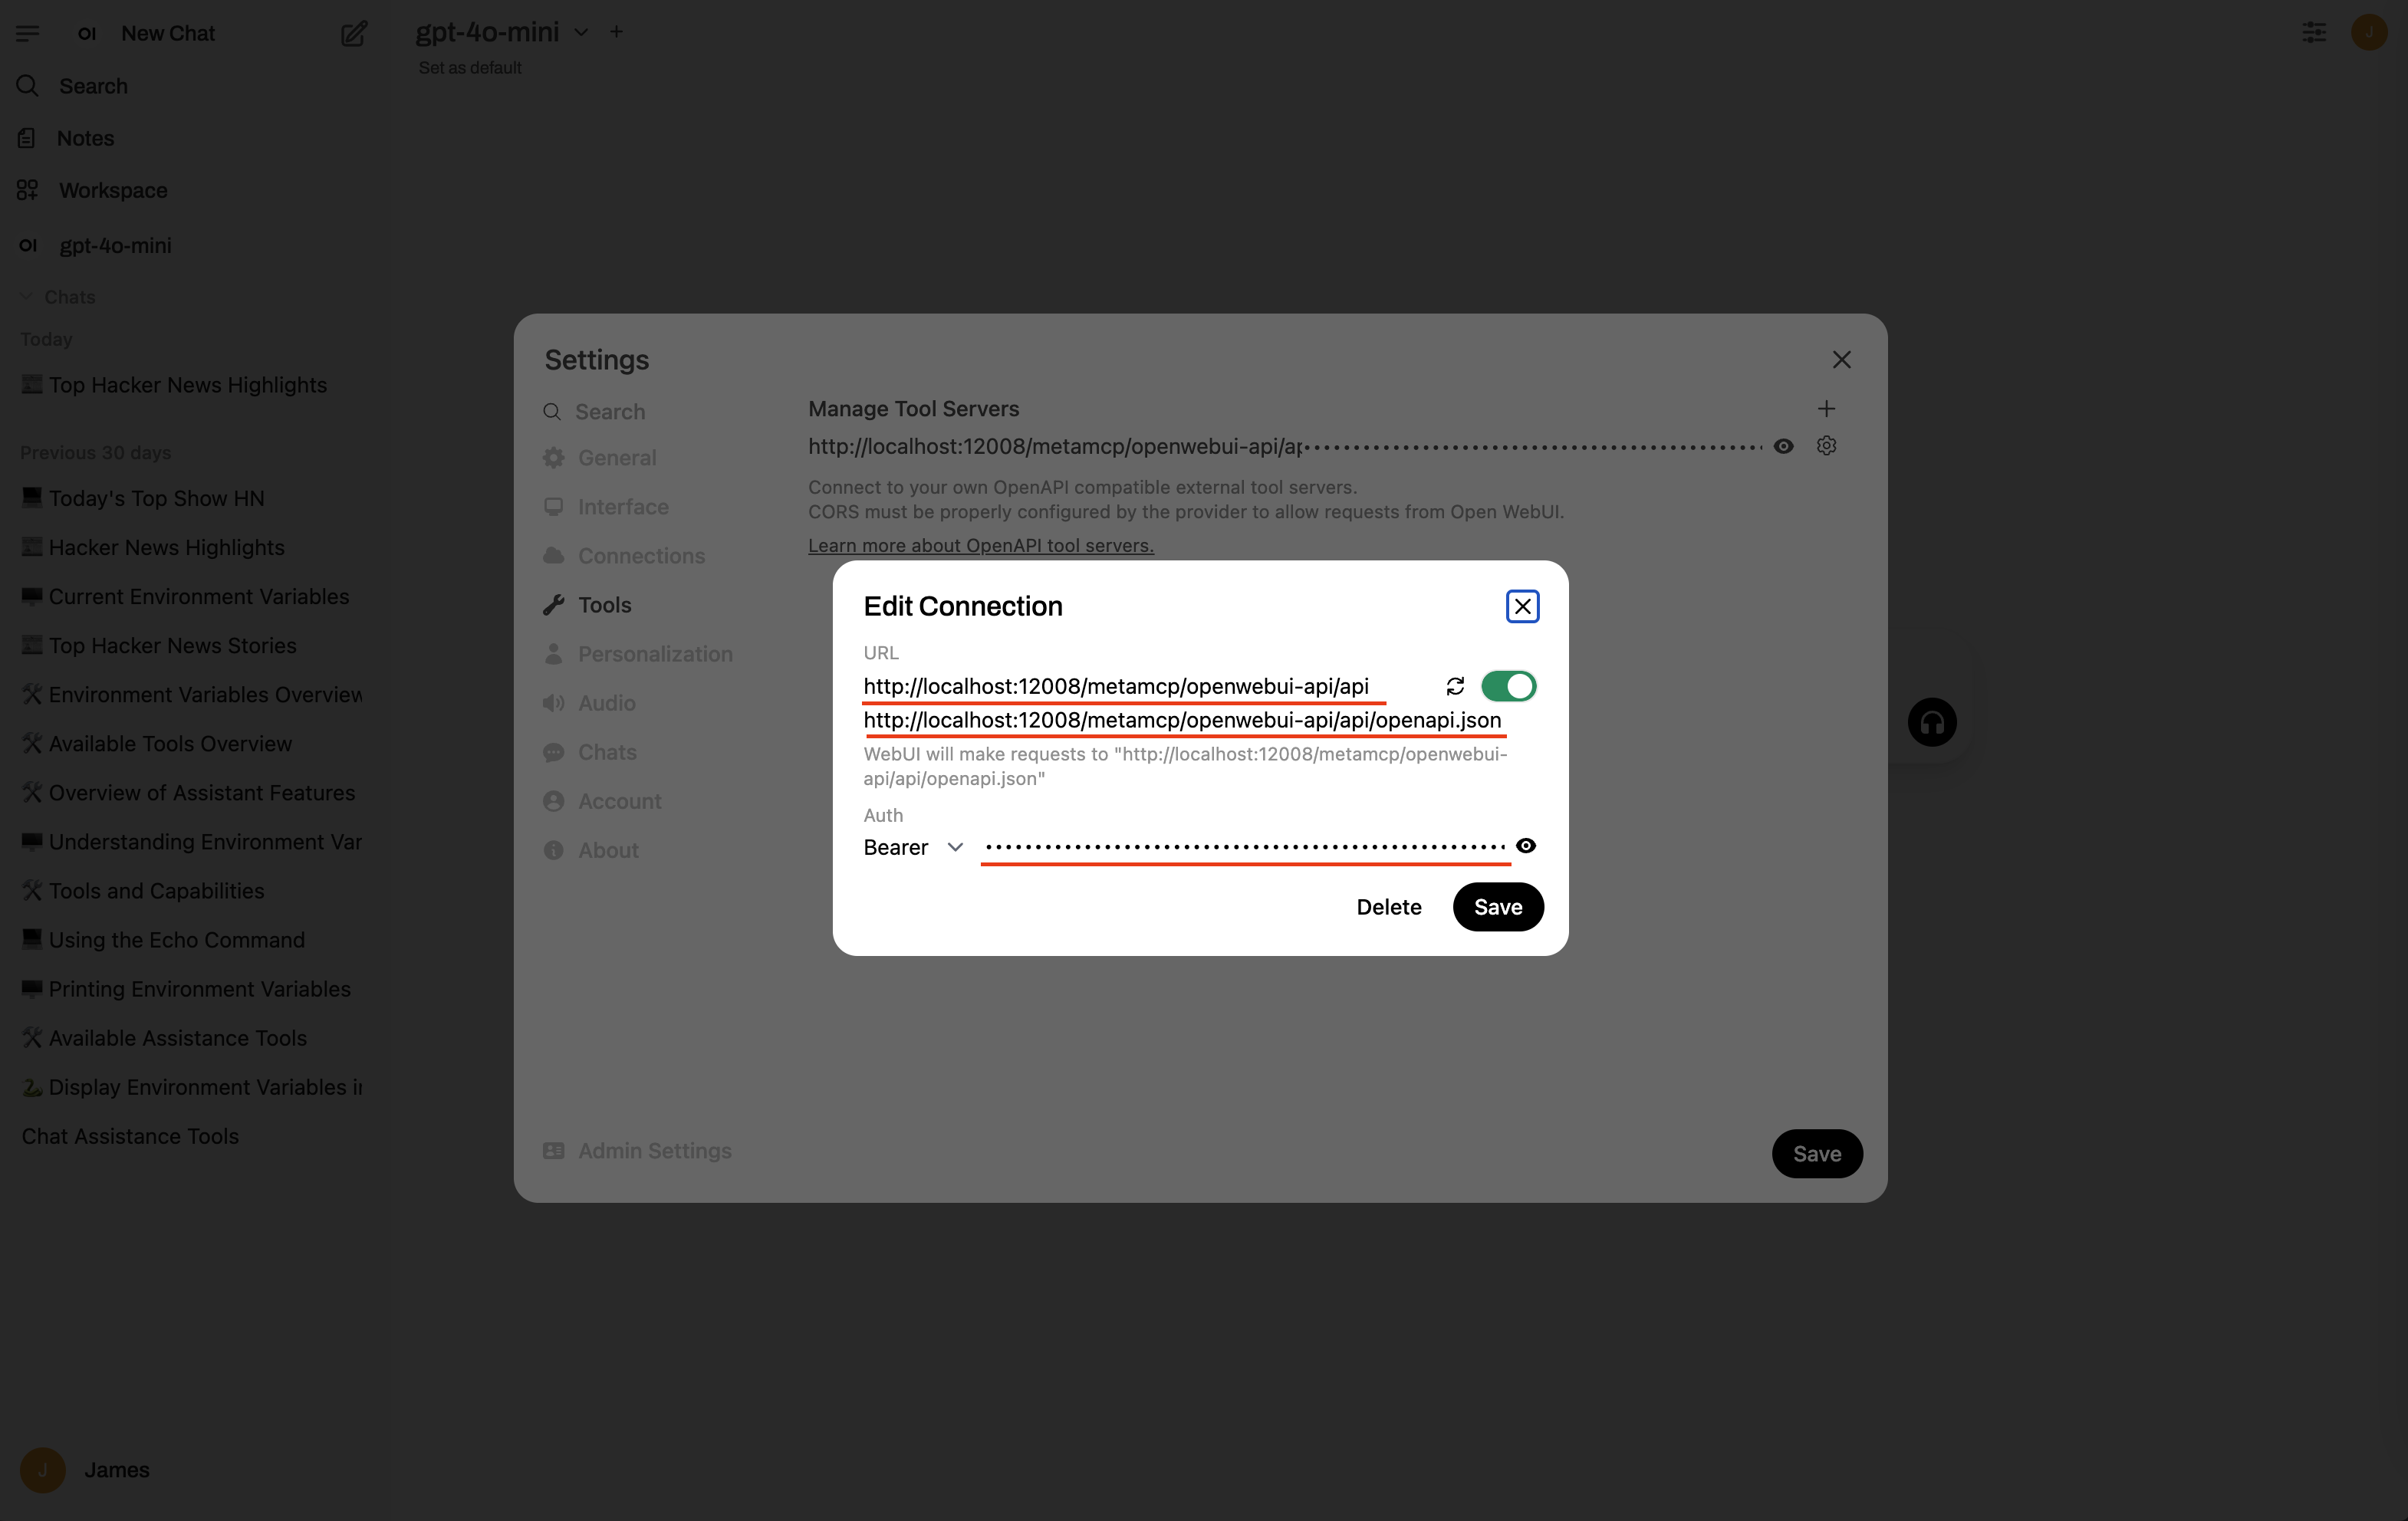
For URL > Base URL enter
{APP_URL}/metamcp/openwebui-api/api. For example if APP_URL is http://localhost:12008 then enter http://localhost:12008/metamcp/openwebui-api/api.For URL > openapi.json Path enter
{APP_URL}/metamcp/openwebui-api/api/openapi.json. For example if APP_URL is http://localhost:12008 then enter http://localhost:12008/metamcp/openwebui-api/api/openapi.json.Put the “API Key” generated in previous steps to “Auth Bearer” field.
Use the “refresh” button to test connection.
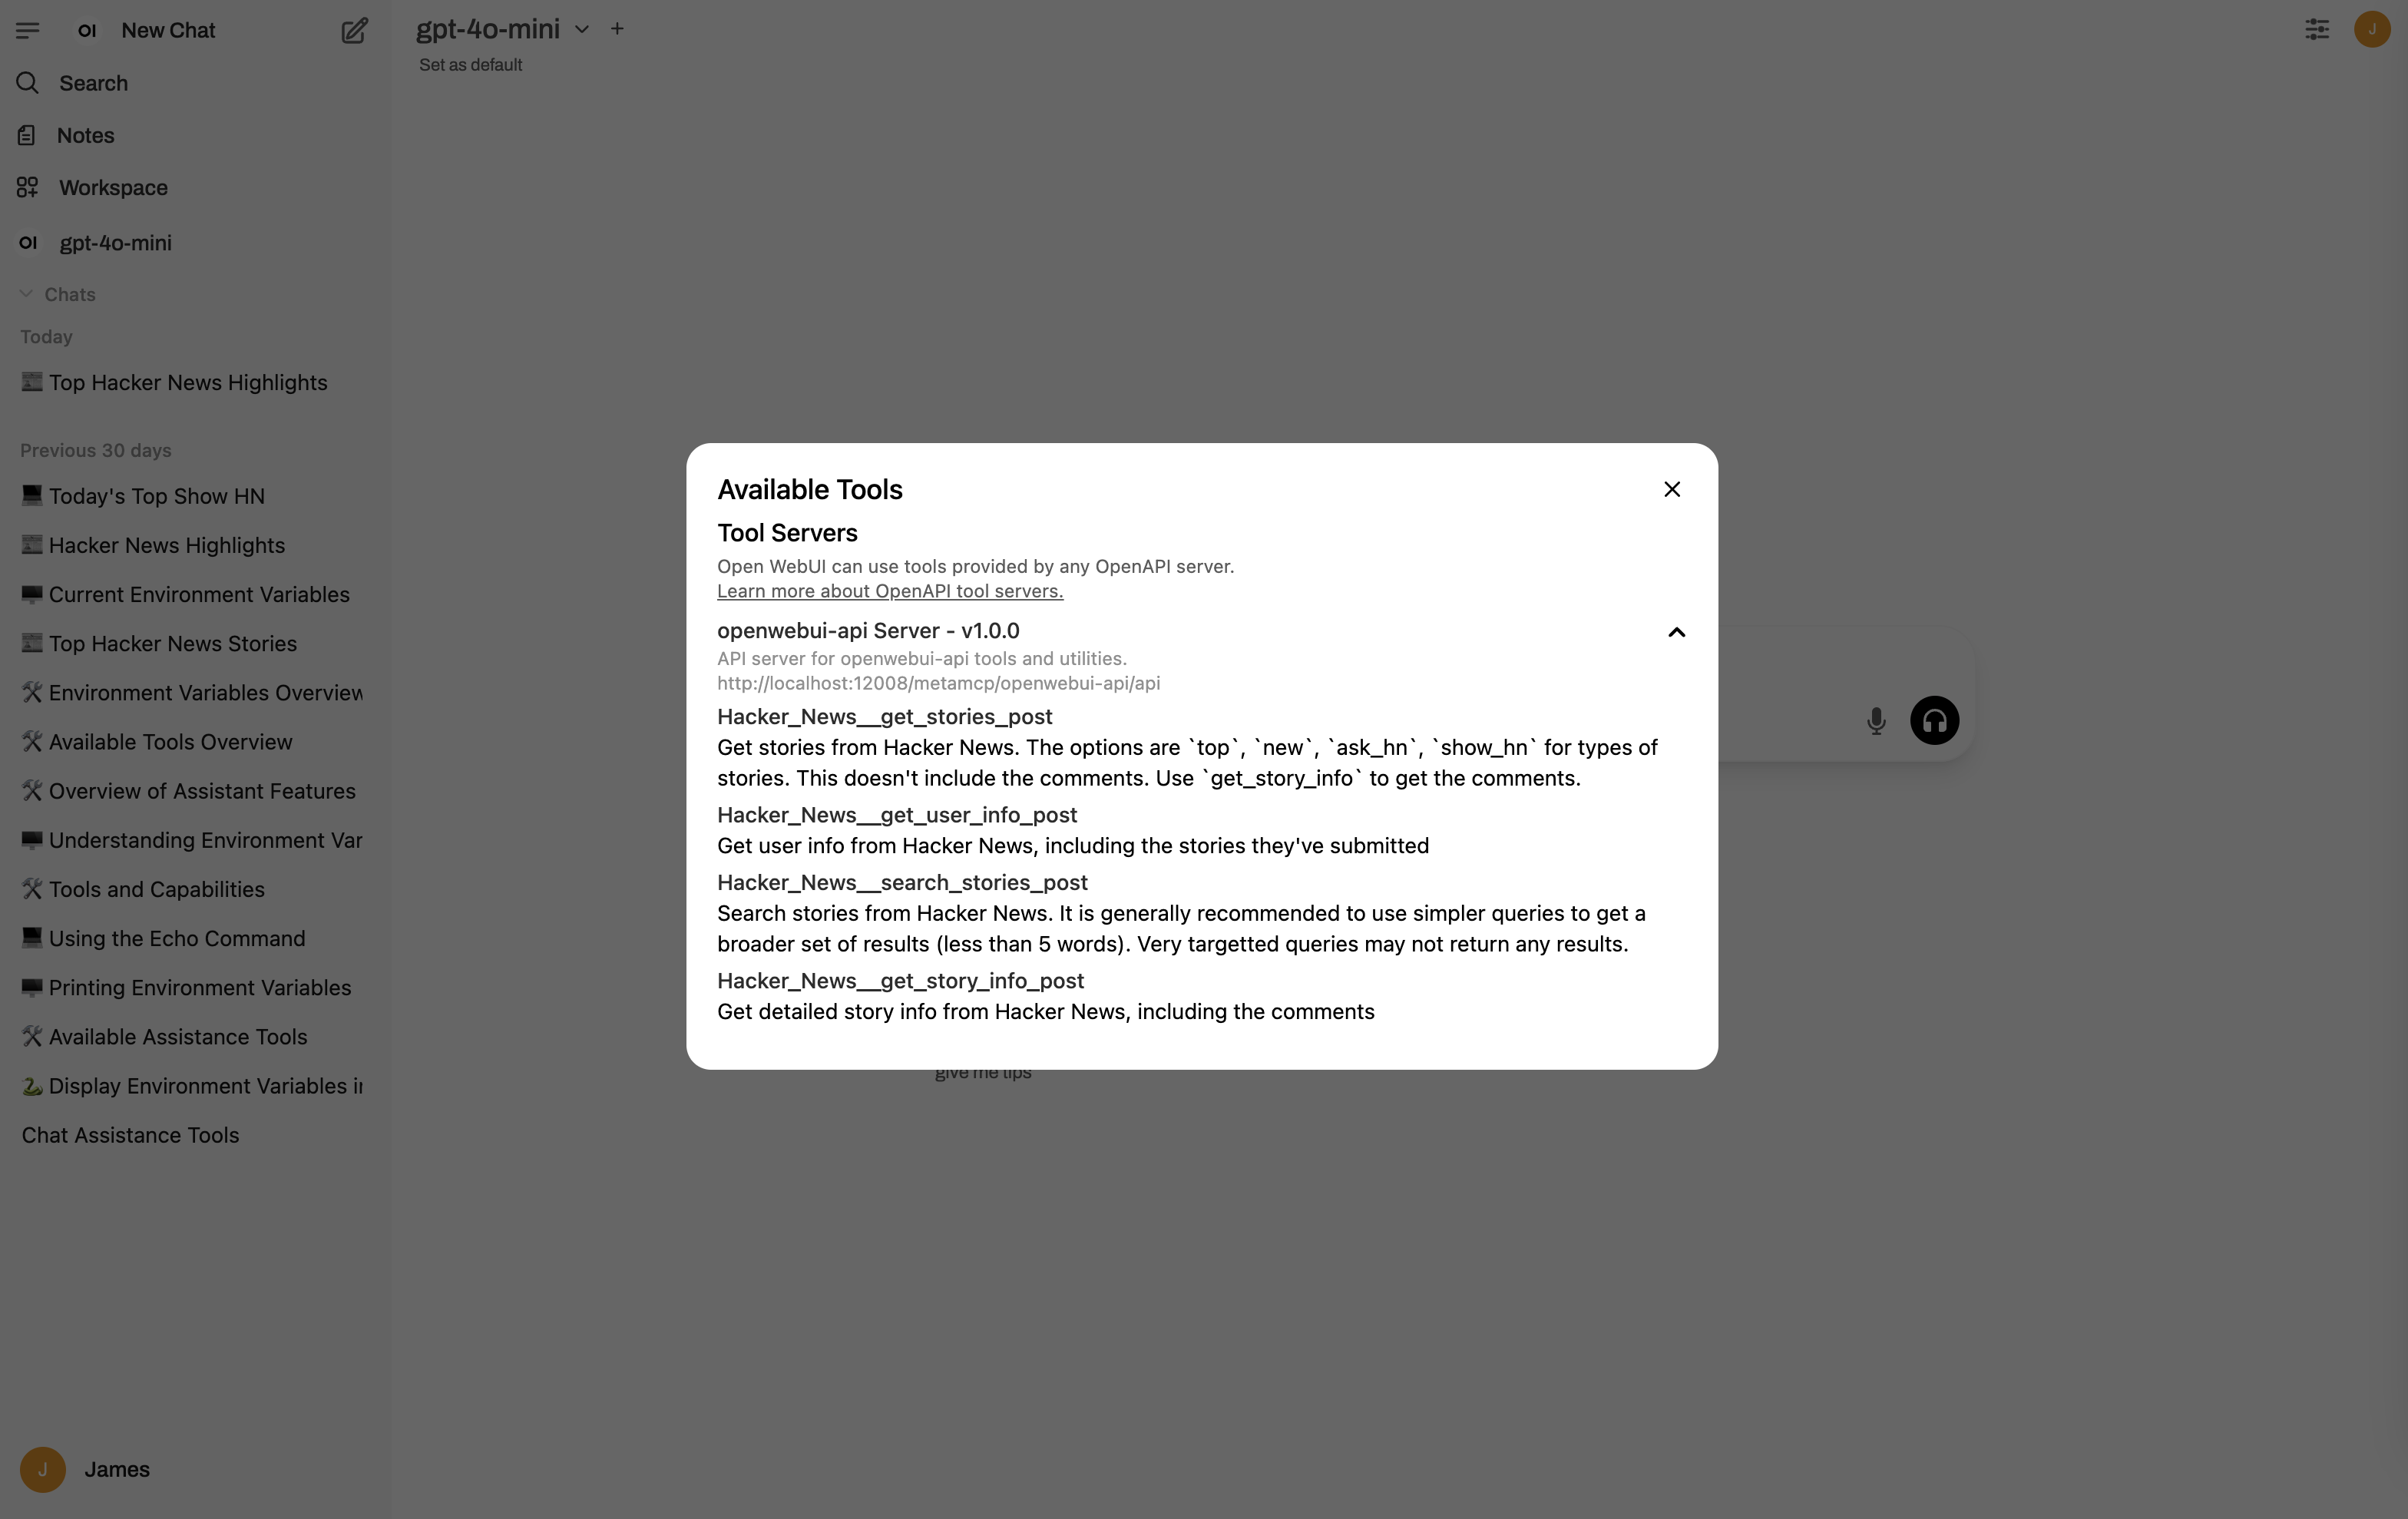
Step 5.4: Back to chat and verify the listed tools
Step 5.4: Back to chat and verify the listed tools
Close any pop ups. In home page click new chat. Then inspect the available tools.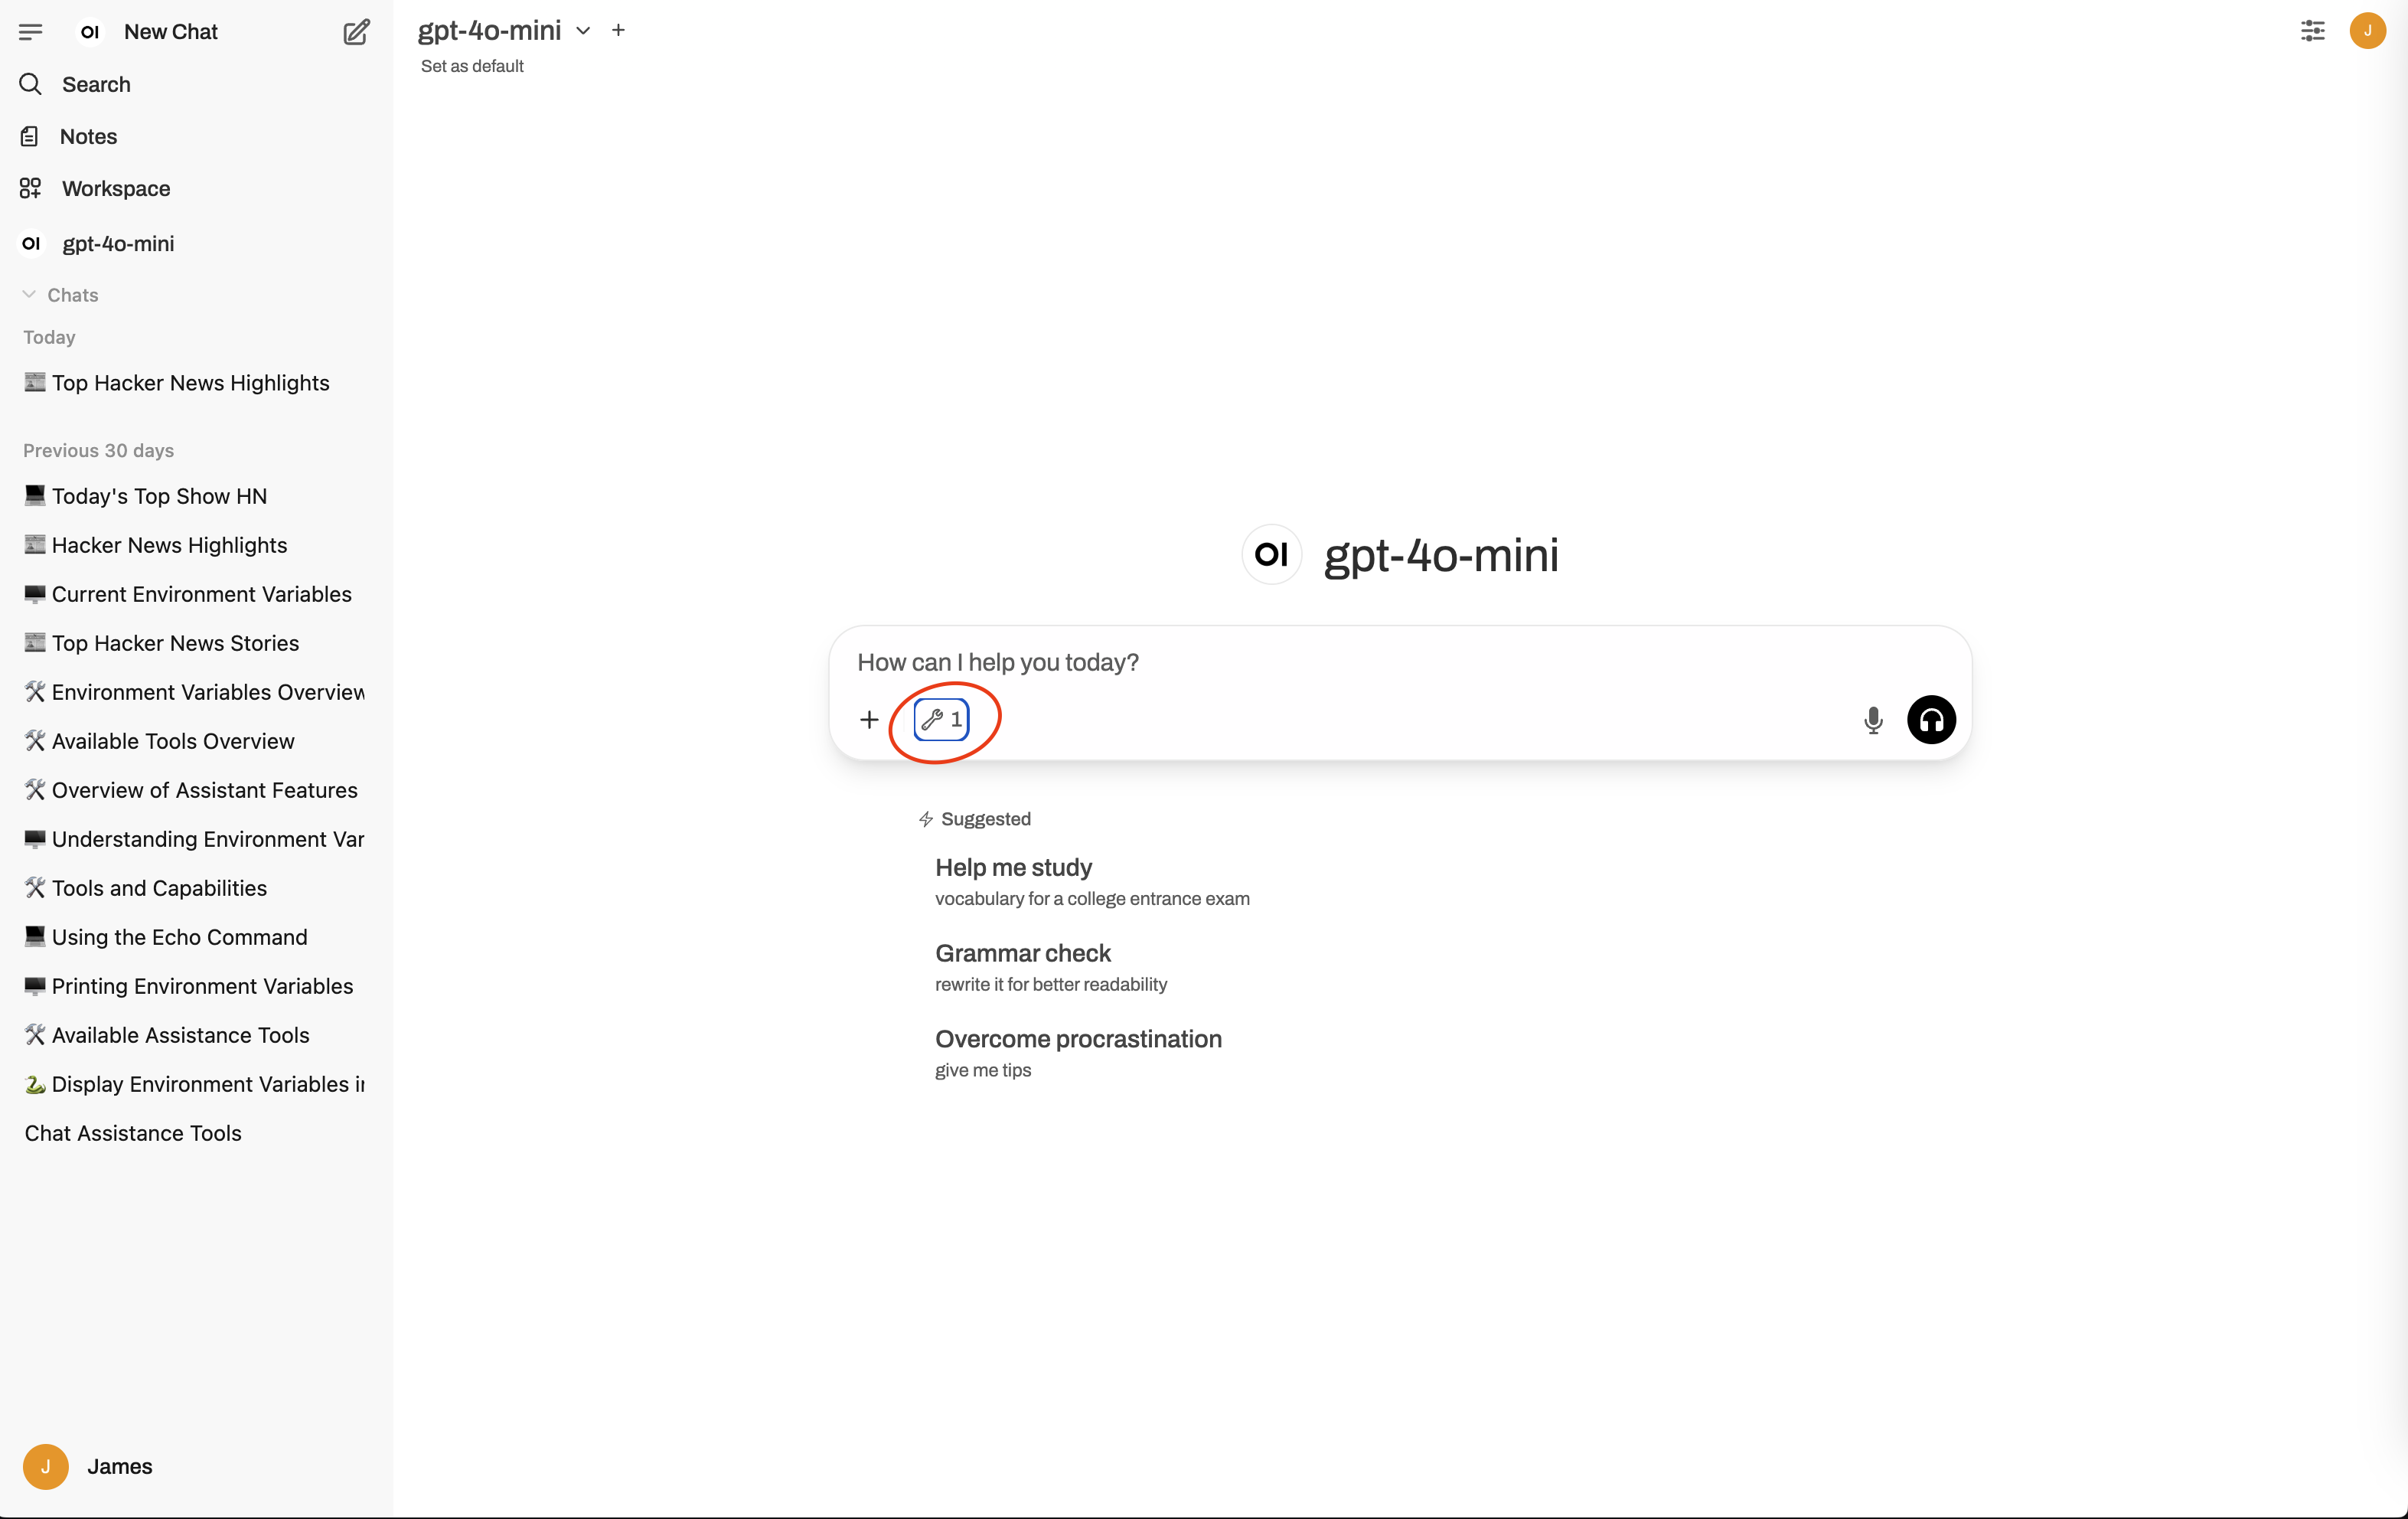
Step 5.5: Chat with tool calling
Step 5.5: Chat with tool calling
In new chat, a query of “show top hacker news” would look like: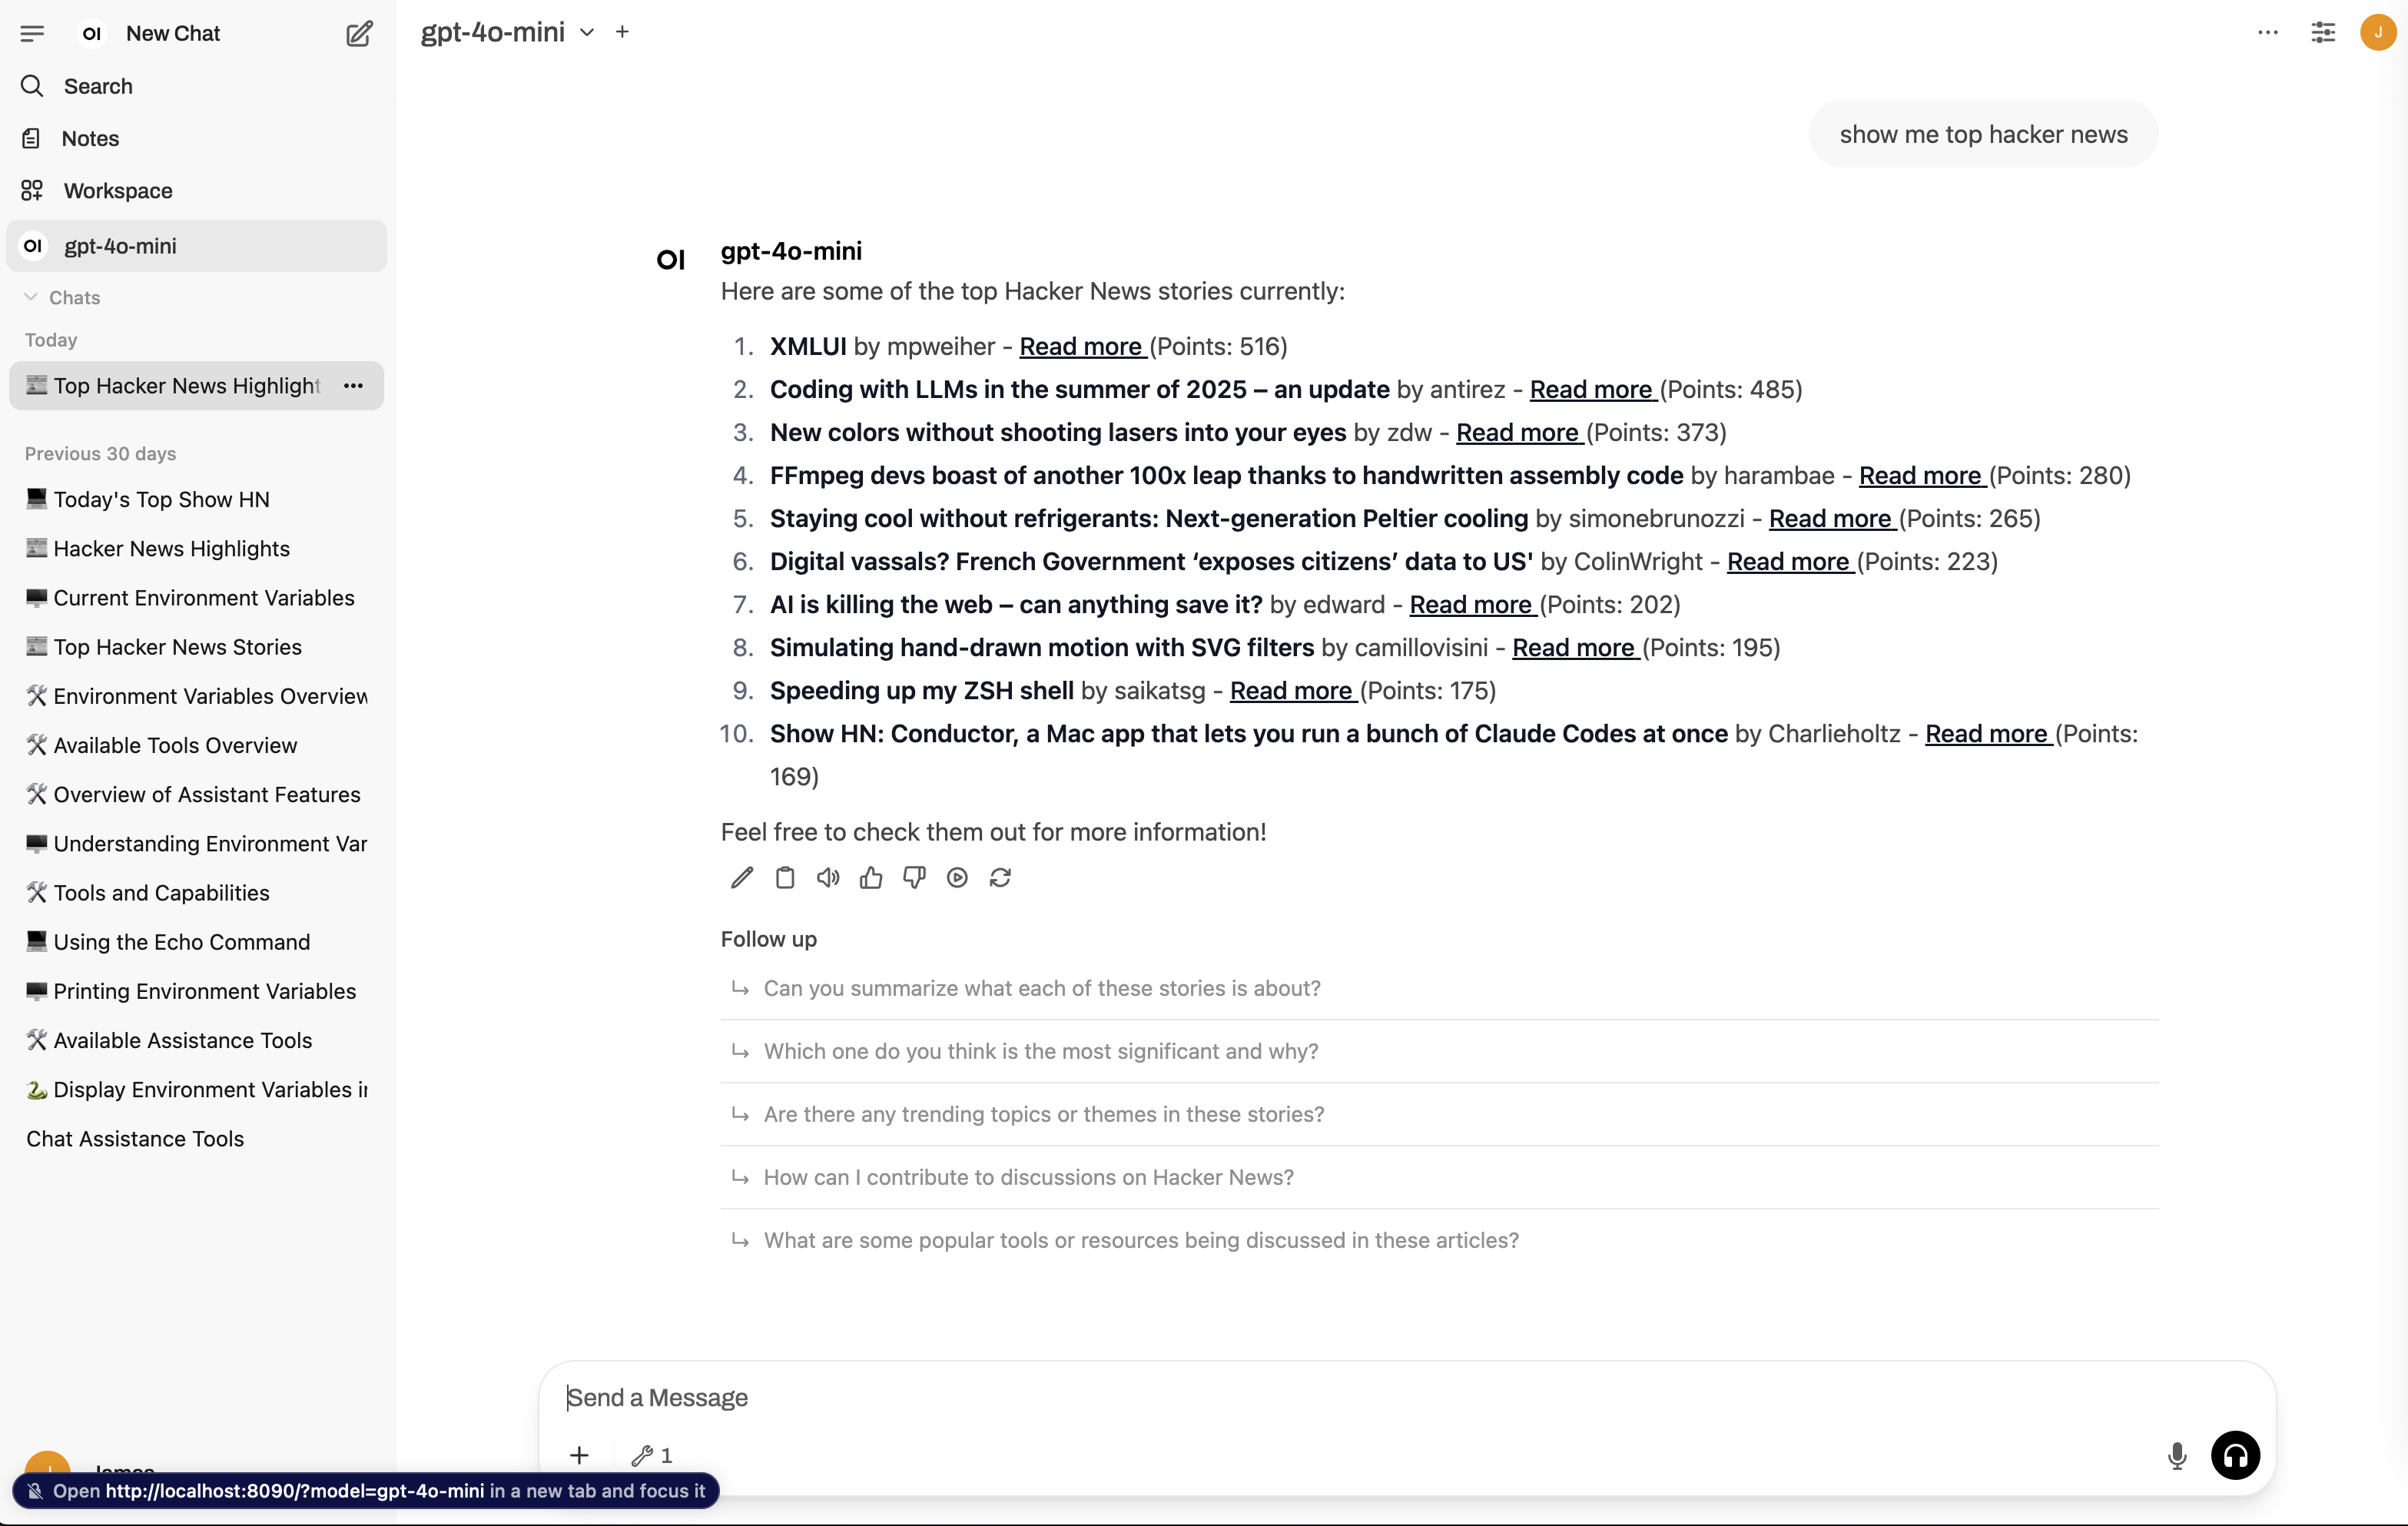
Troubleshooting
Common Issues
Common Issues
Connection Errors:
- Verify
APP_URLis accessible from Open WebUI - Check firewall and network configuration
- Ensure API key is correctly configured. Turn off Auth to test if it works first.
- With Auth off, you can manually visit e.g.,
http://localhost:12008/metamcp/openwebui-api/api/openapi.jsonto verify theopenapi.json.
- Verify API key format (should start with
sk_mt_) - Ensure Bearer token authentication is properly configured in Open WebUI
- Verify Authorization header format:
Bearer {your_api_key}
- Check MCP server status in MetaMCP dashboard
- Review tool permissions in namespace settings
- Monitor logs for specific error messages
- Ensure Open WebUI domain is allowed
- Check MetaMCP CORS configuration
- Verify APP_URL matches access URL
Need Help?
Need Help?
- Check MetaMCP GitHub Issues
- Join our Discord community
- Review Open WebUI documentation if necessary